To get Mailvelope working with Roundcube, you'll first need to manually add your webmail's domain to the list of authorized domains. Here's how to do it:Navigate to your Roundcube inbox and click on the Mailvelope icon located in the upper right corner of your browser to open the main menu. Select Authorize this domain from the menu.
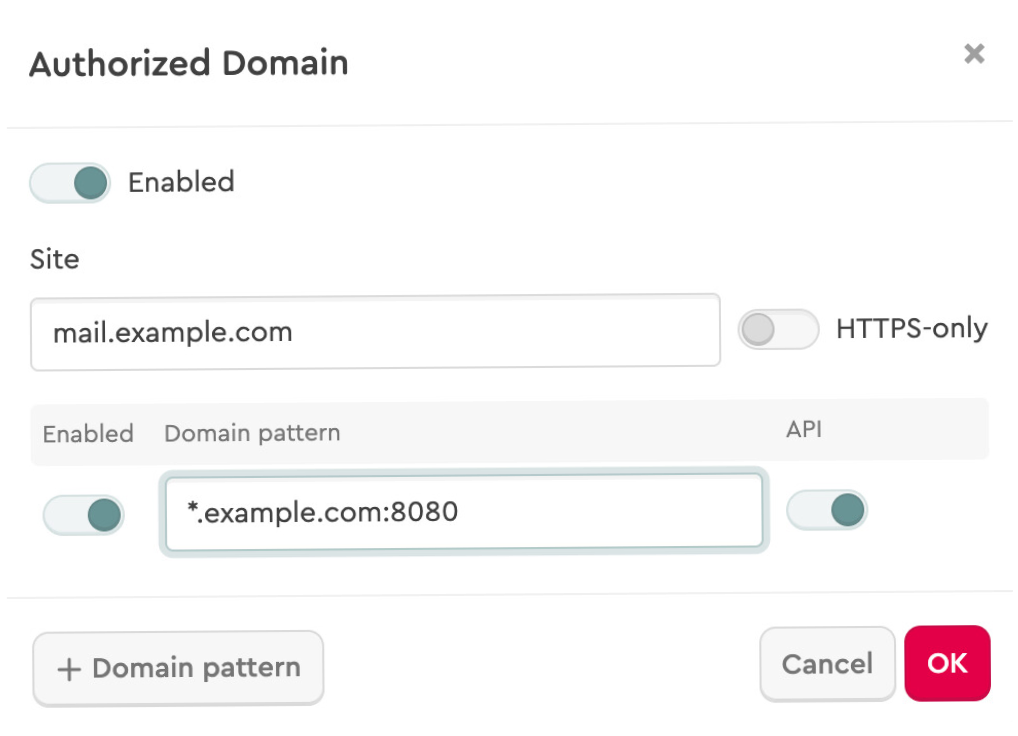
In the Mailvelope dialog for adding a new domain, you can leave the Status and Domain Pattern fields unchanged unless the URL contains a port number. A port number appears aftera colon (:) followed by 2 to 5 digits in the browser's address bar (e.g., https://mail.example.com:8080). If a port number is present, manually add the colon and port number to the Domain Pattern field
manually, right after the automatically detected domain. Now do a reload of the browser tab of your Roundcube inbox.
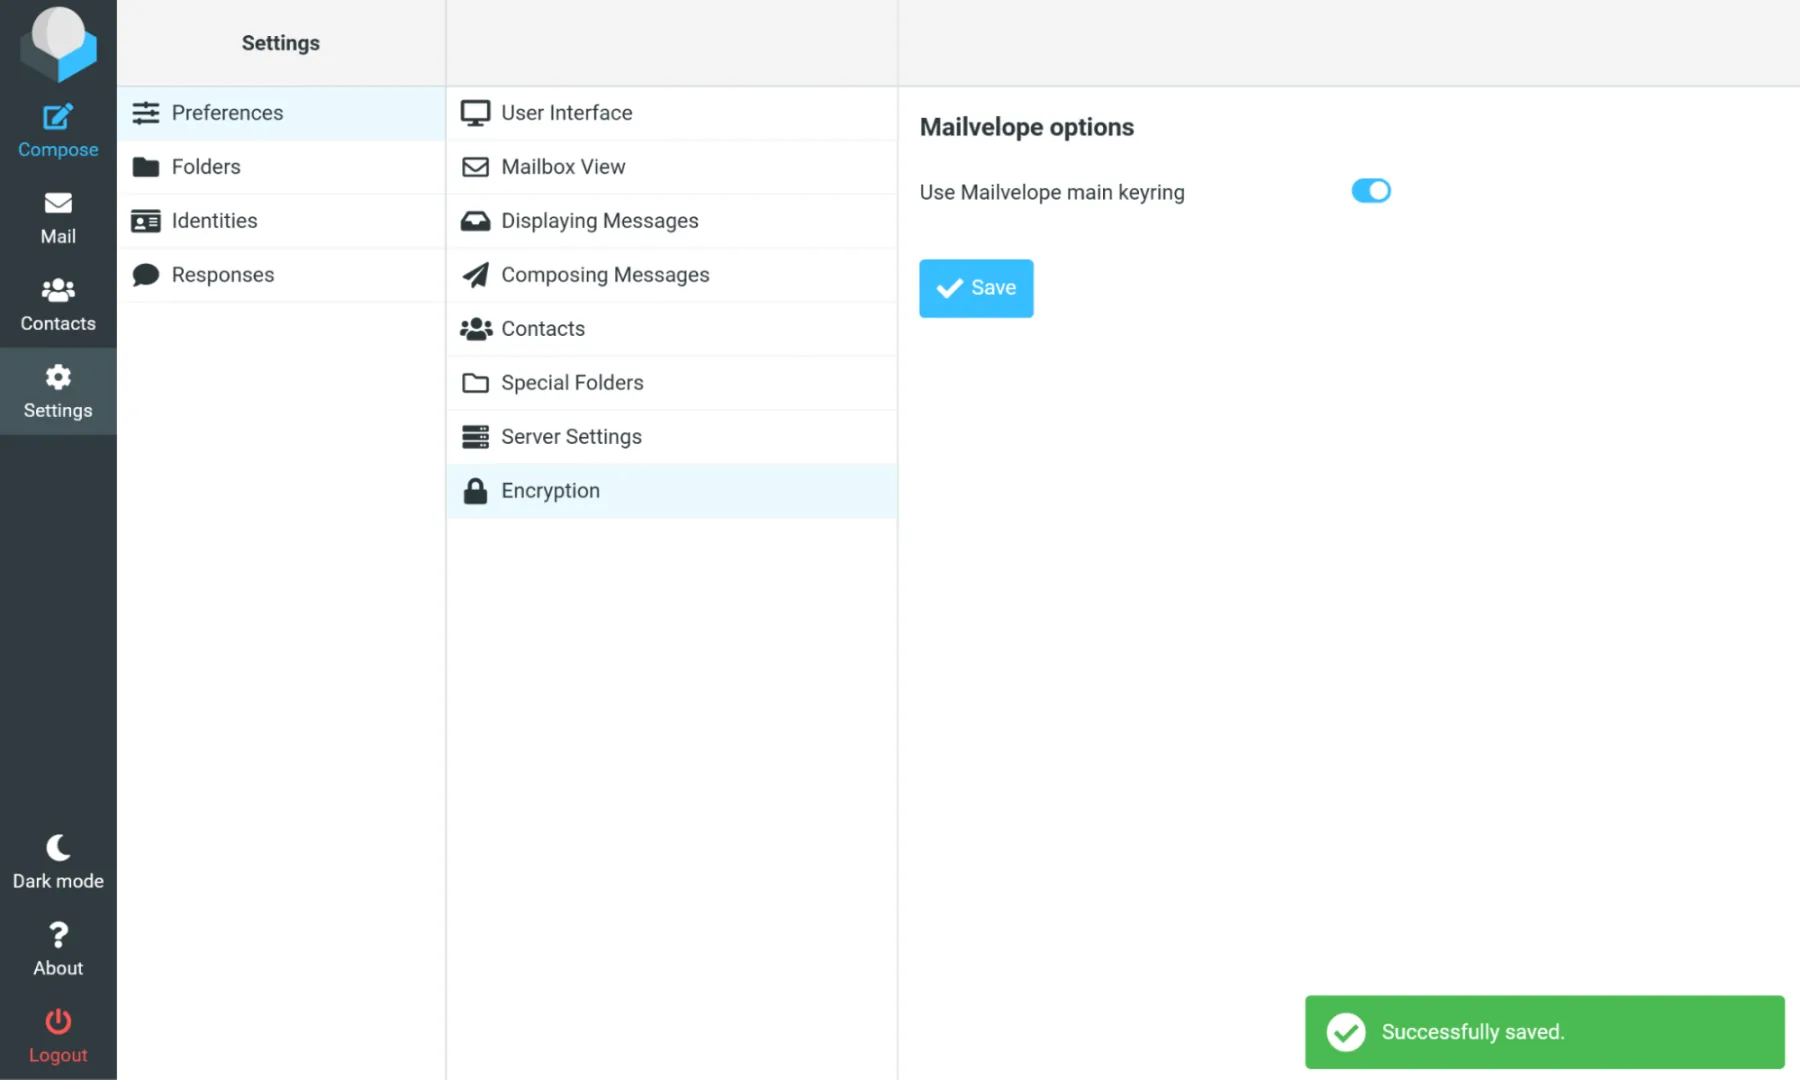
Next, head on to Roundcube Settings->Preferences->Encrpytion and turn the toggle Use Mailvelope main keyring in Mailvelope options to On.Mailvelope will now be authorized to work seamlessly with your Roundcube webmail.
Sending an encrypted message with Roundcube
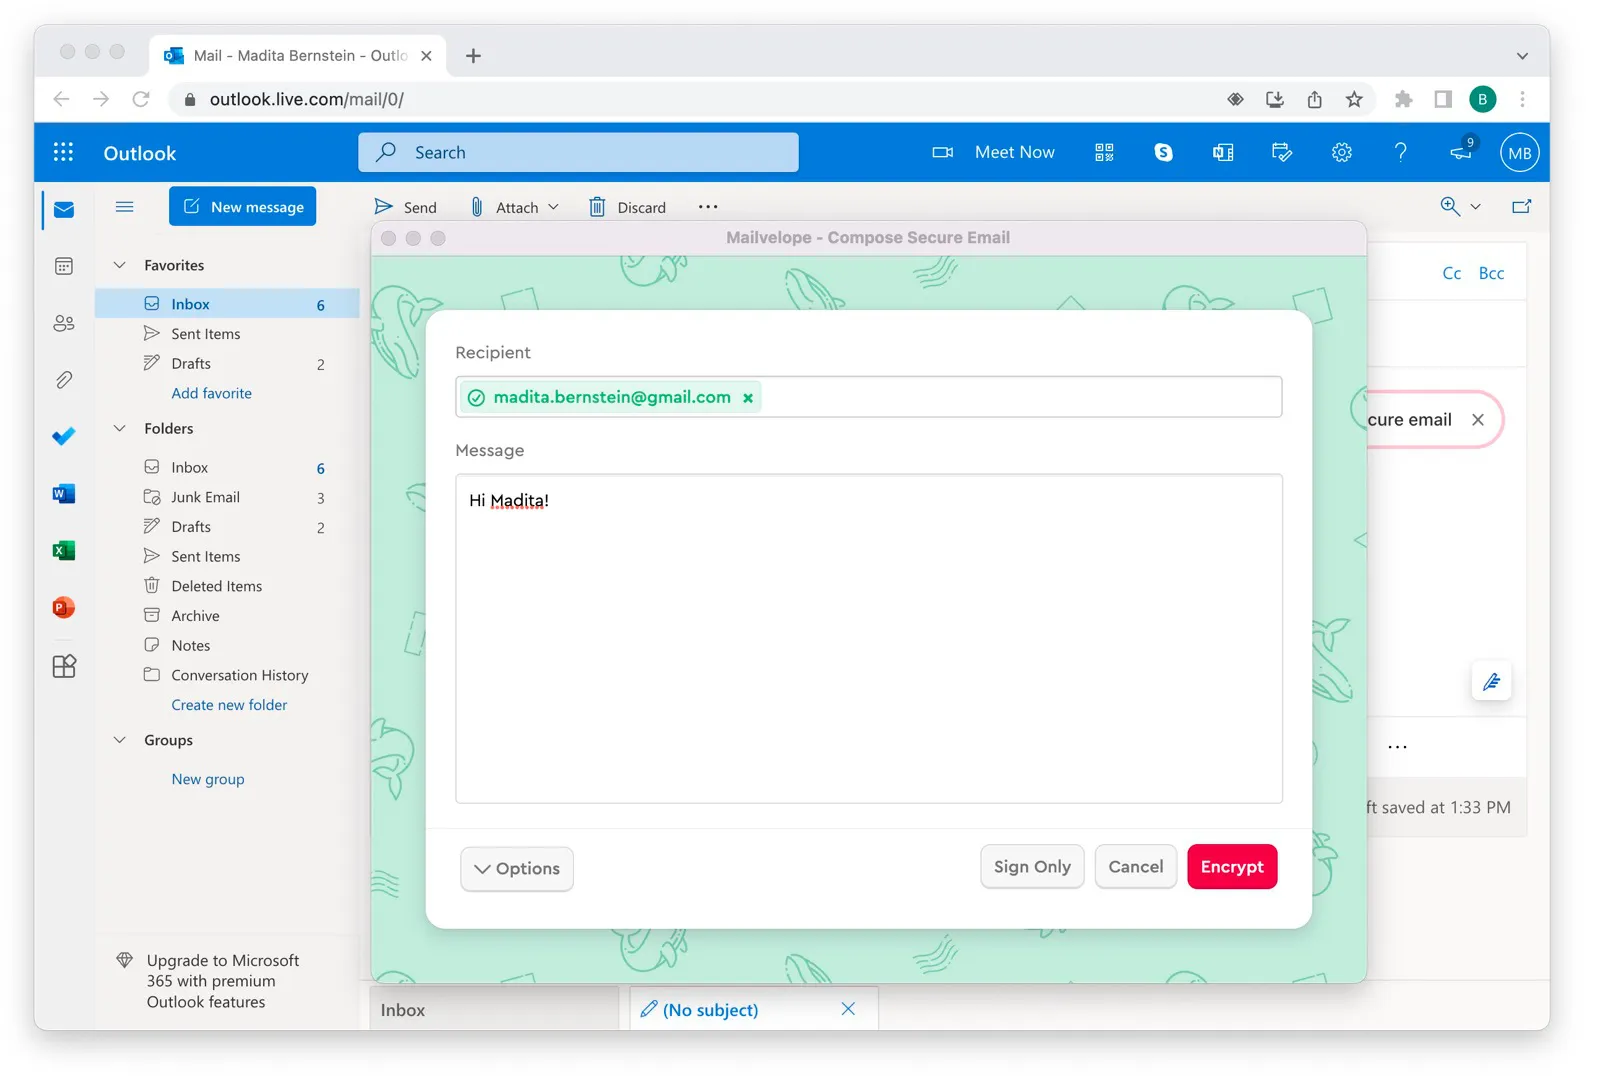
After installing Mailvelope, the Encrypt button appears in the top navigation bar. You can now choose to Encrypt or Encrypt and sign your message.We recommend choosing Encrypt and sign, as this option allows the recipient to confirm that the message was sent by you.
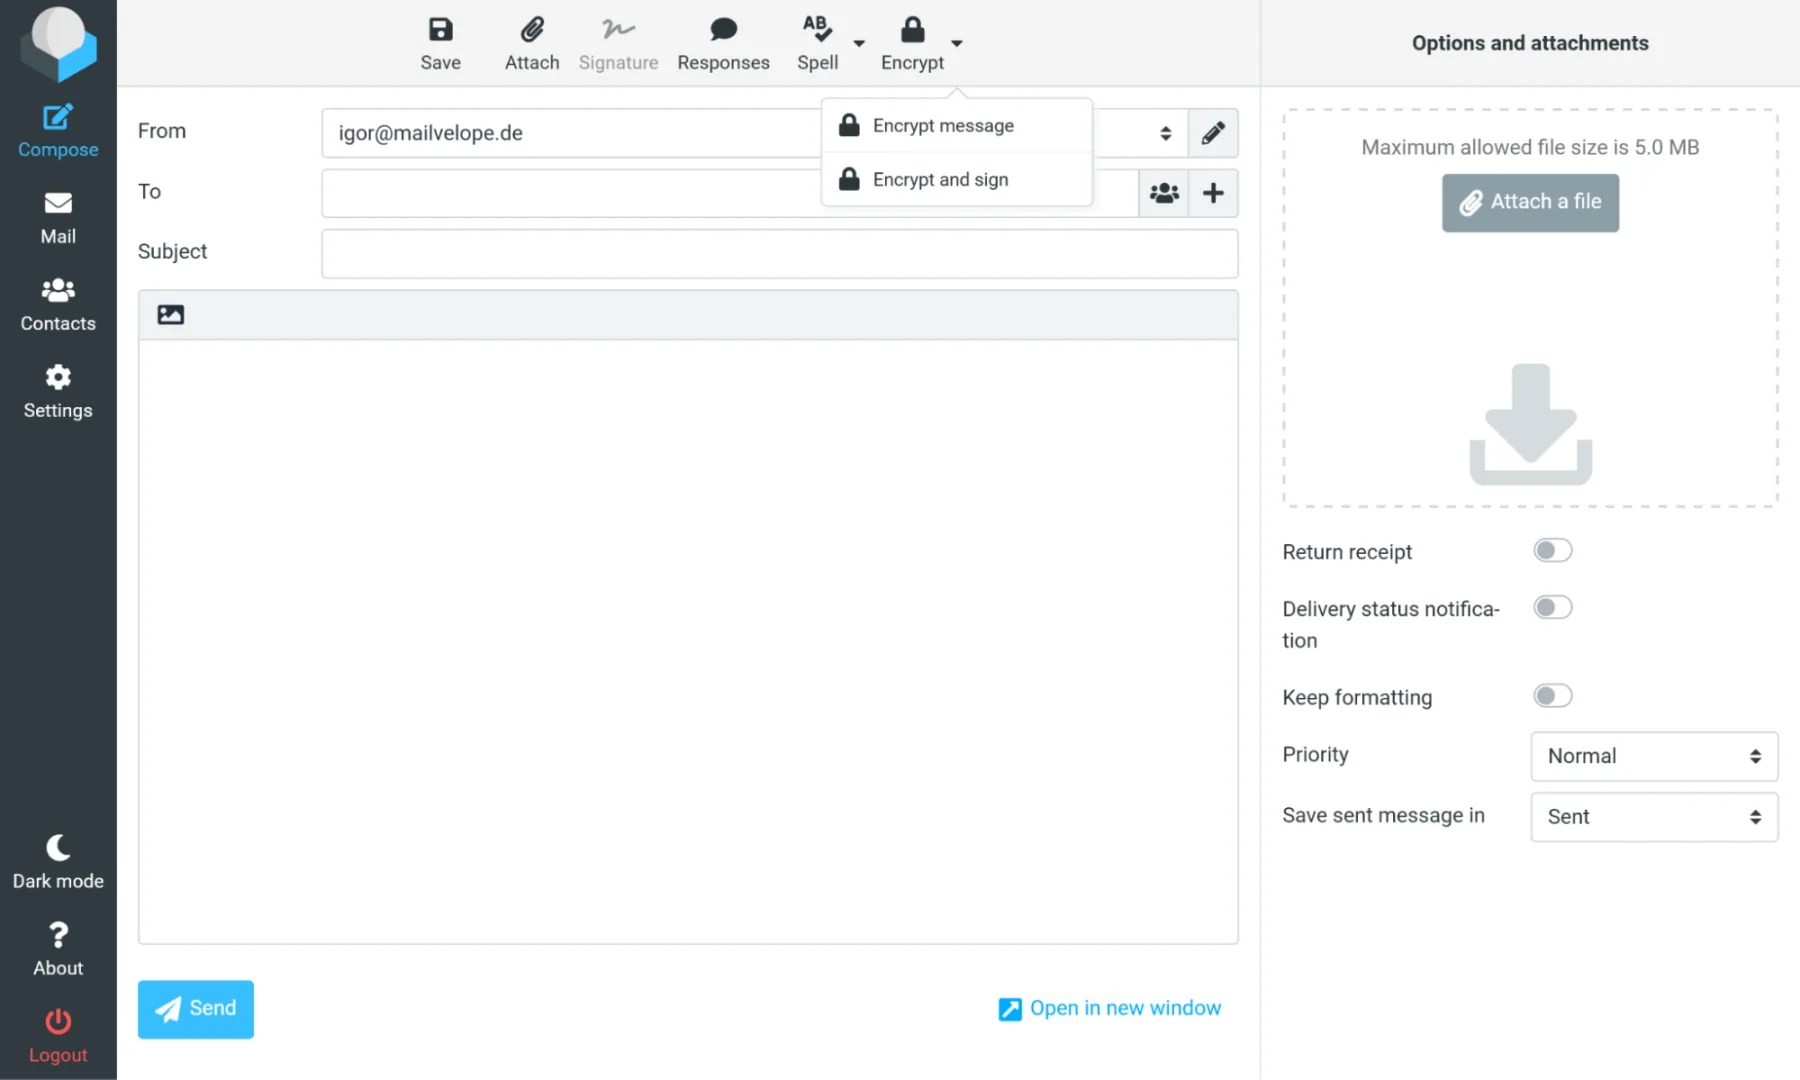
Note: The Encrypt button will be inactive if the message editor type is set to HTML as encryption is supported only for plain text messages. To set the editor type to Plain text,press the X button in the top-left corner of the message field, next to the Icons for HTML formation in the top line of your Roundcube editor.
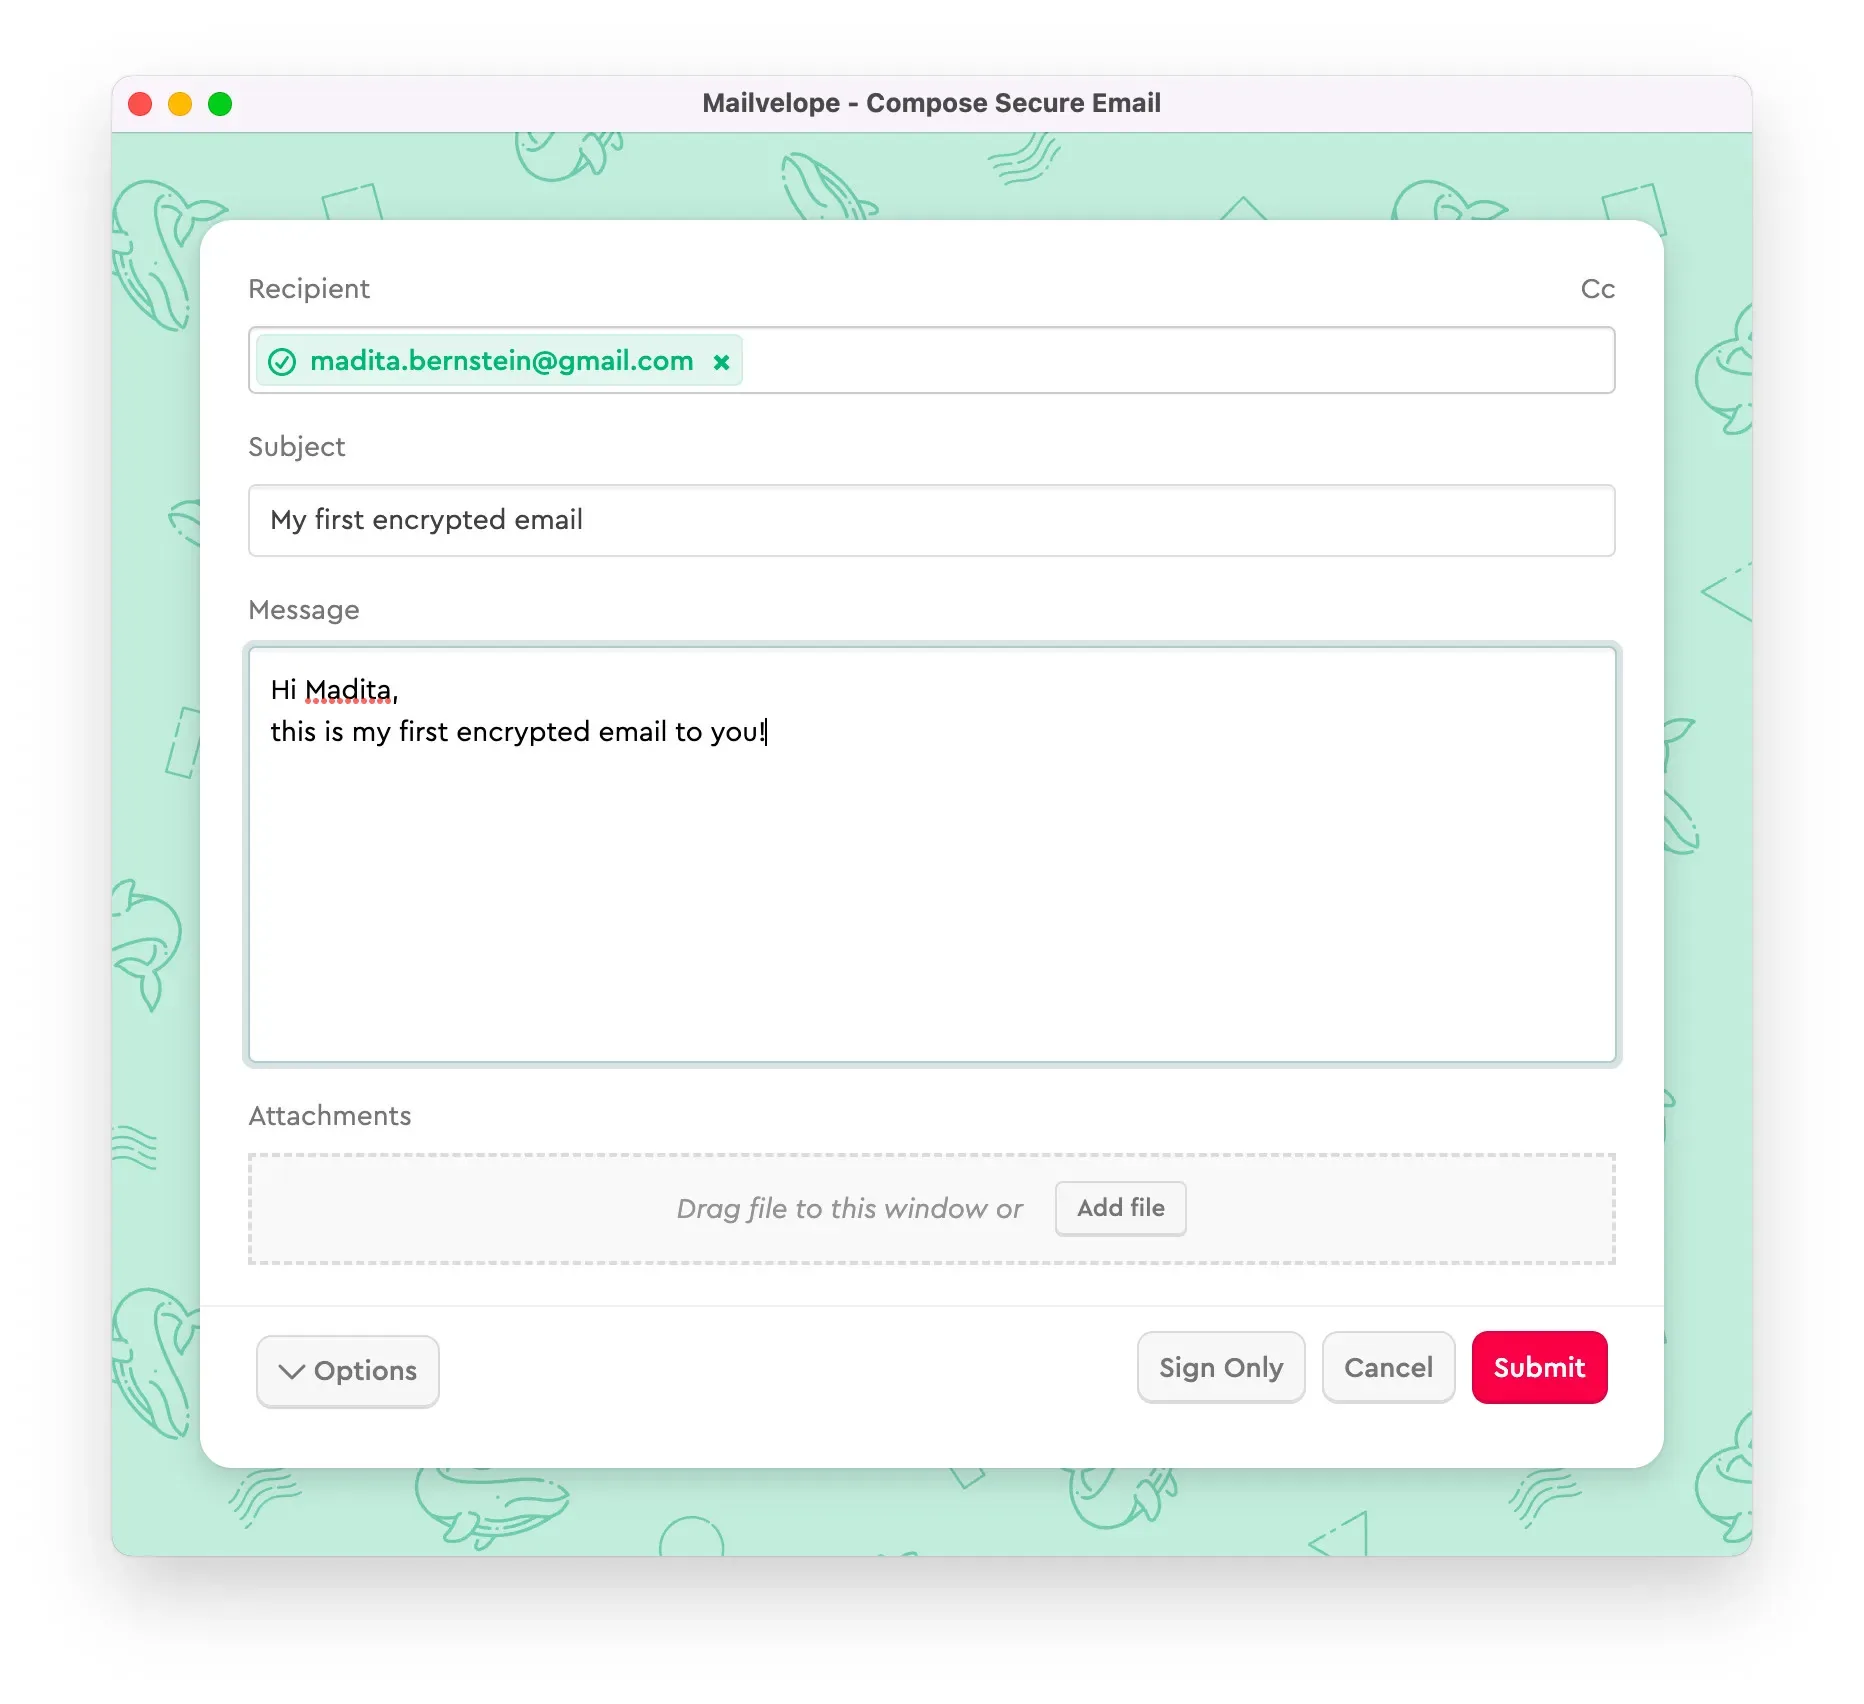
Now you will see the activated Mailvelope editor and you can start typing your message.
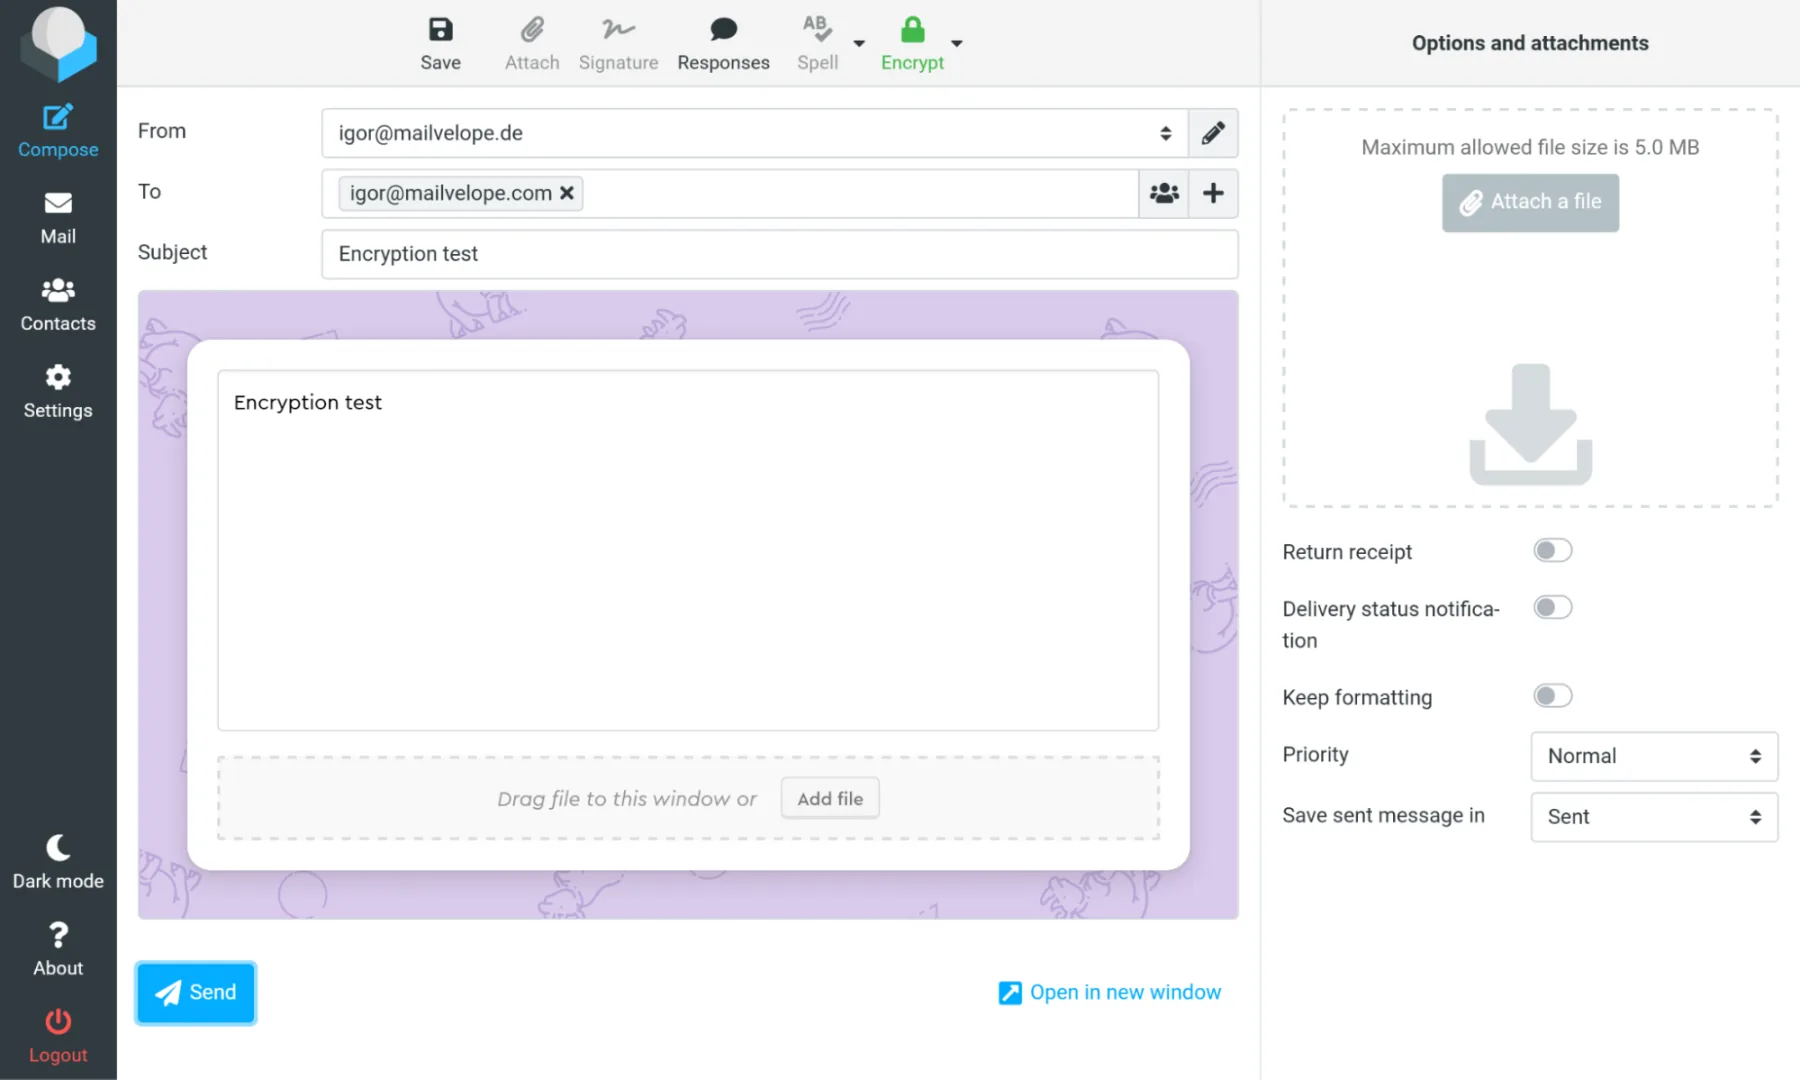
You can add attachments by clicking on Add file. Send the email by hitting the Send button.
Note: Do not use the Options and attachments section on the right to send encrypted attachments.Always use the Add file option within the Mailvelope editor. Otherwise your attachments will stay unencrypted.
Decrypting an email sent to you
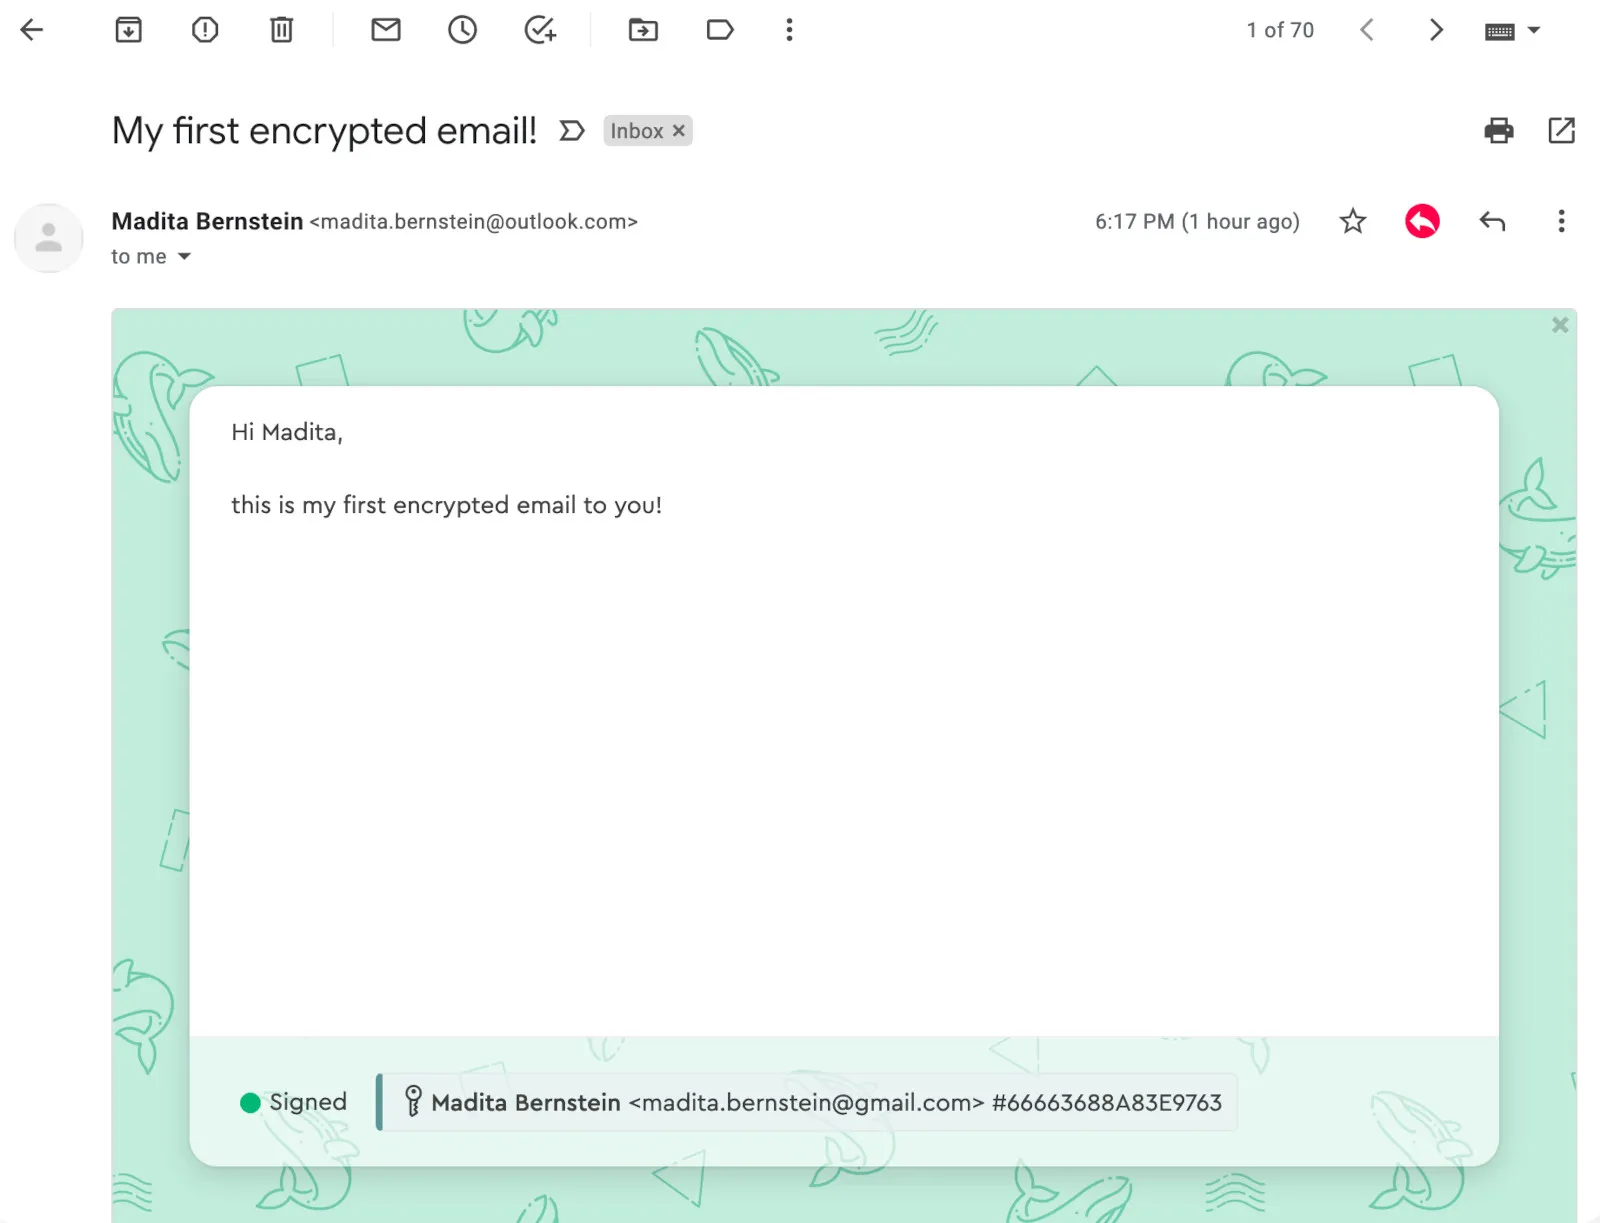
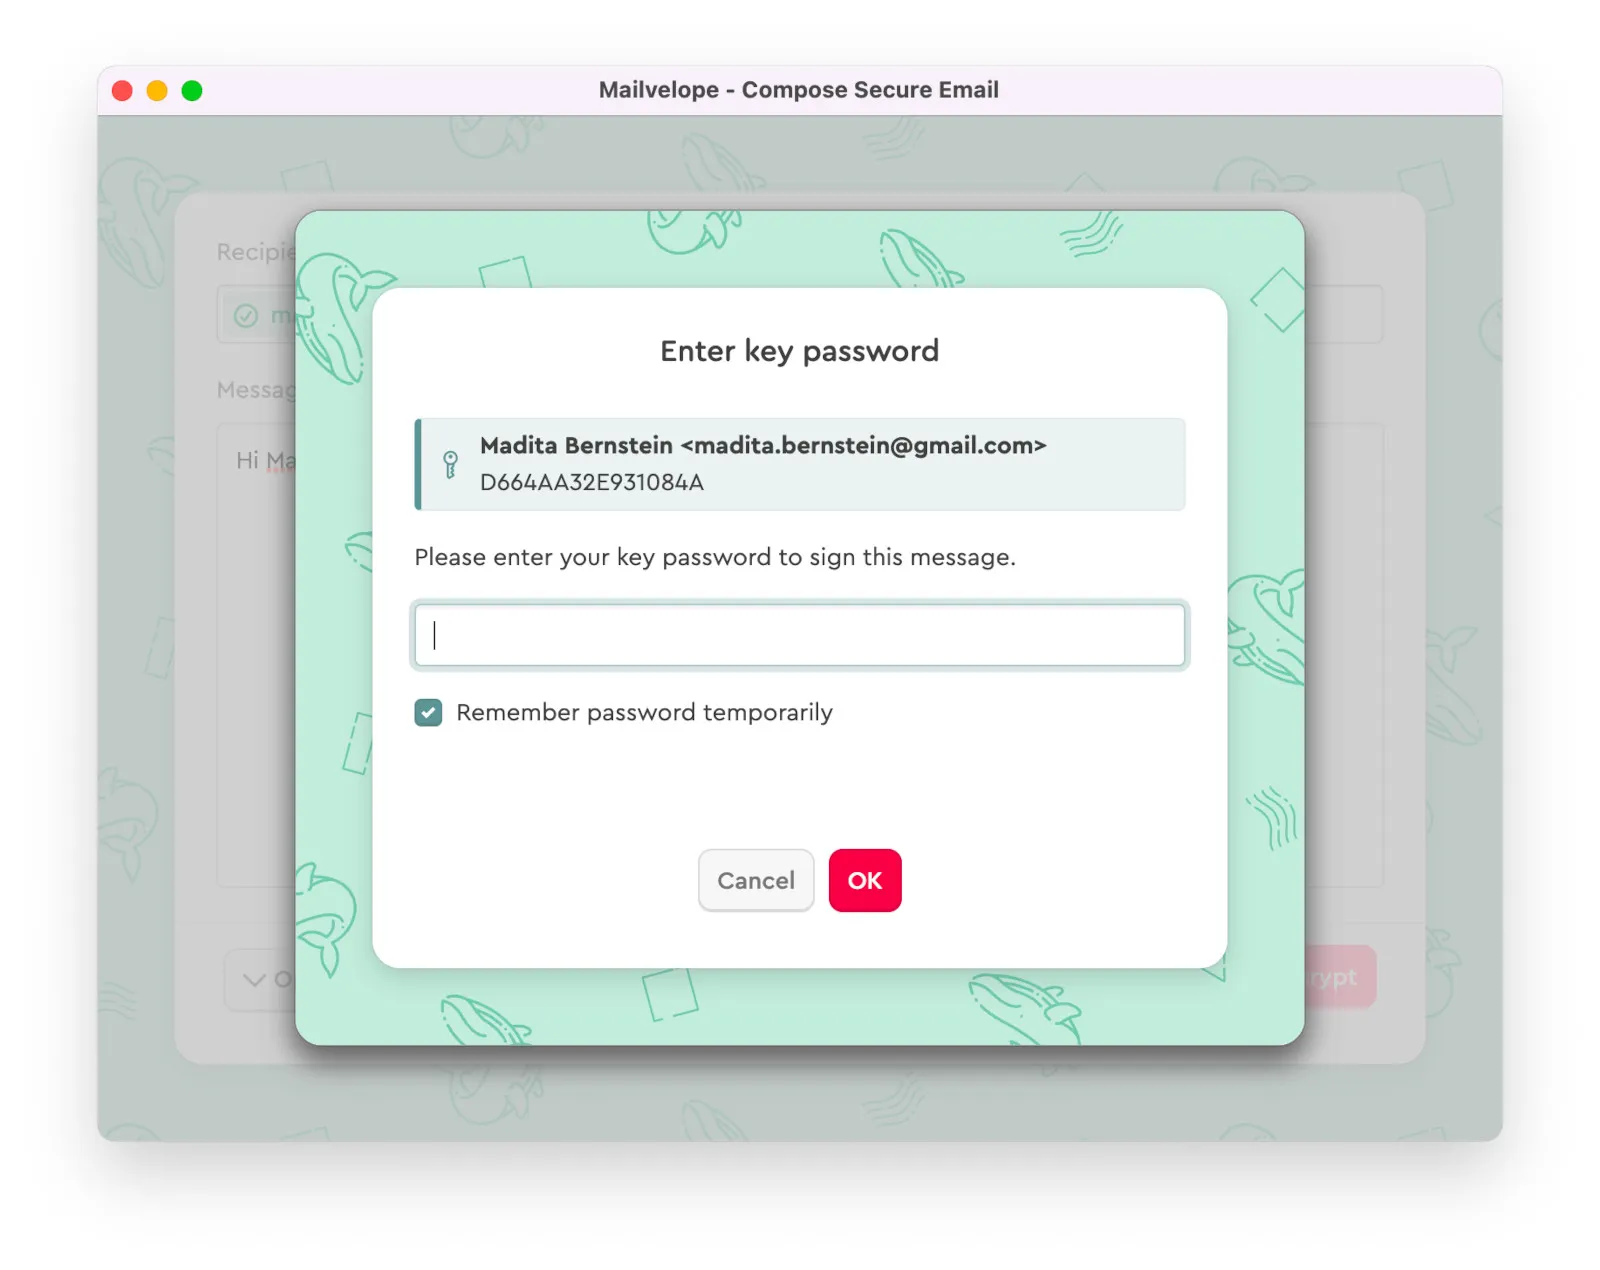
If you click on an encrypted email in your Inbox, Mailvelope will first show it to you as a sealed envelope.Clicking on it will open a Enter key password dialog. Typing the password of your private key and clicking OK will decrypt and open the message.
Decrypting attachments
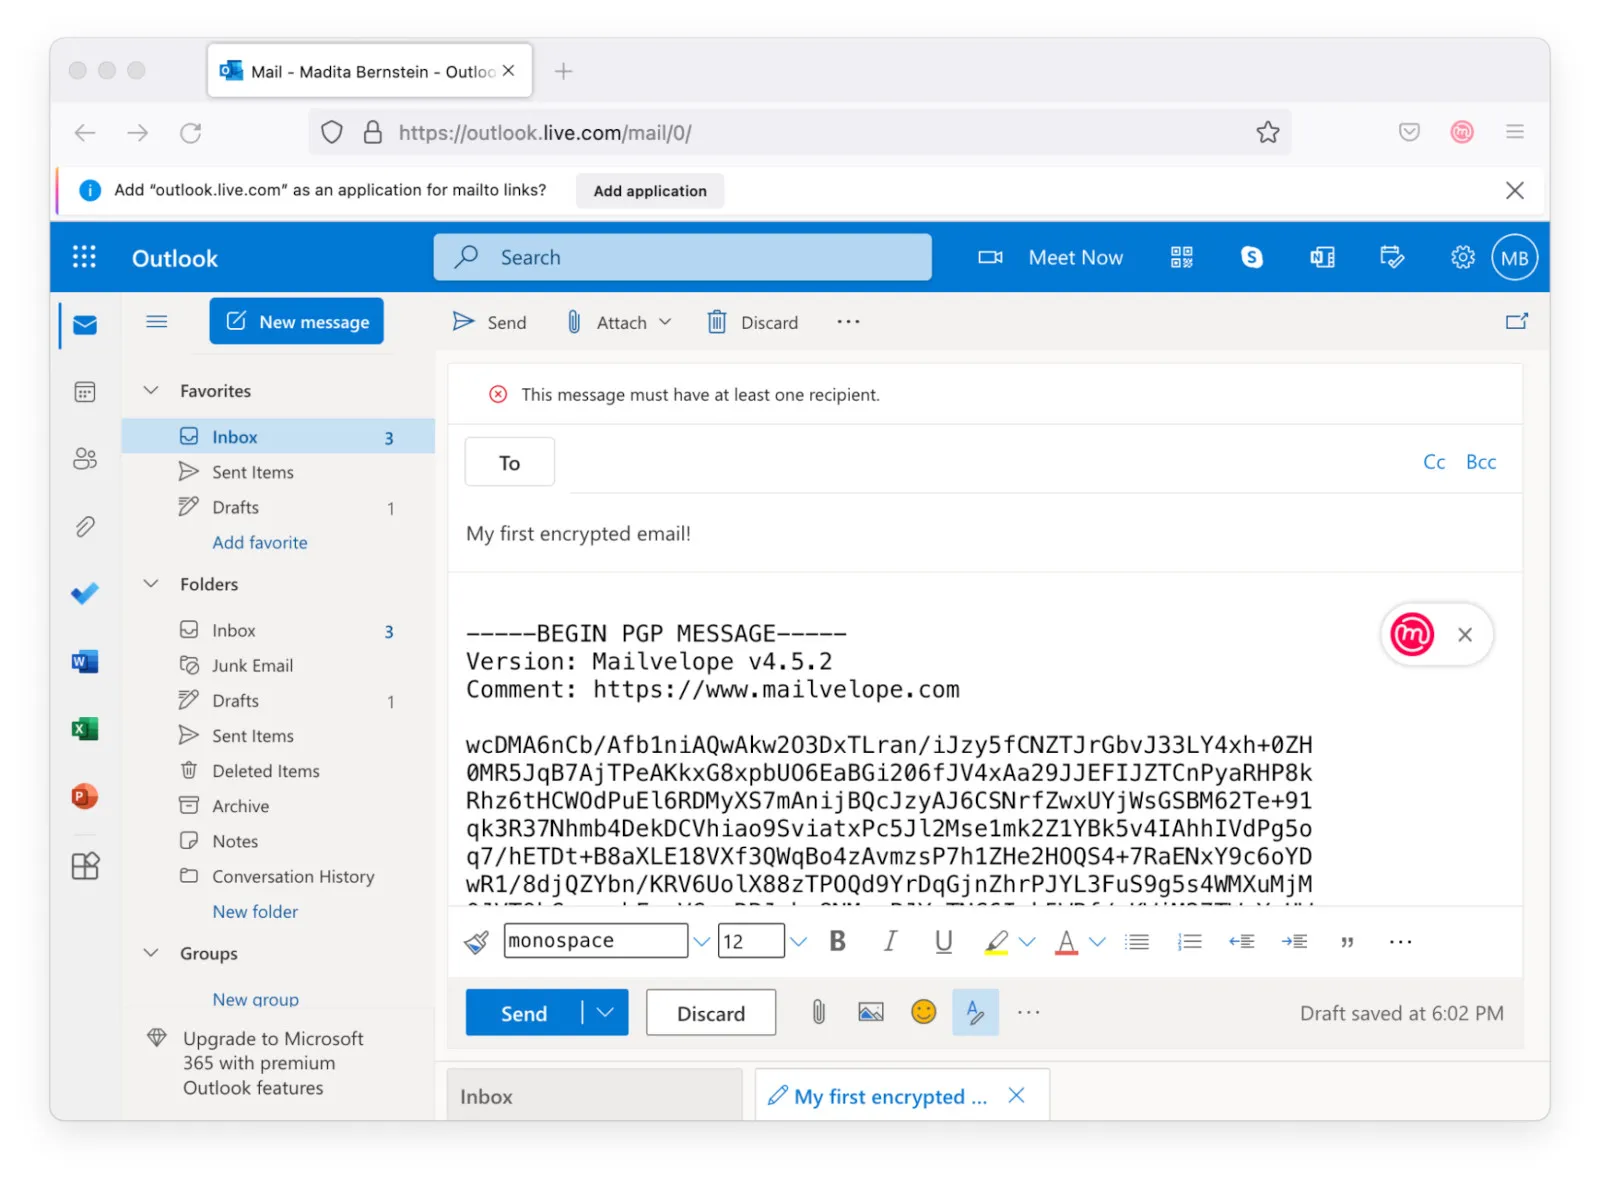
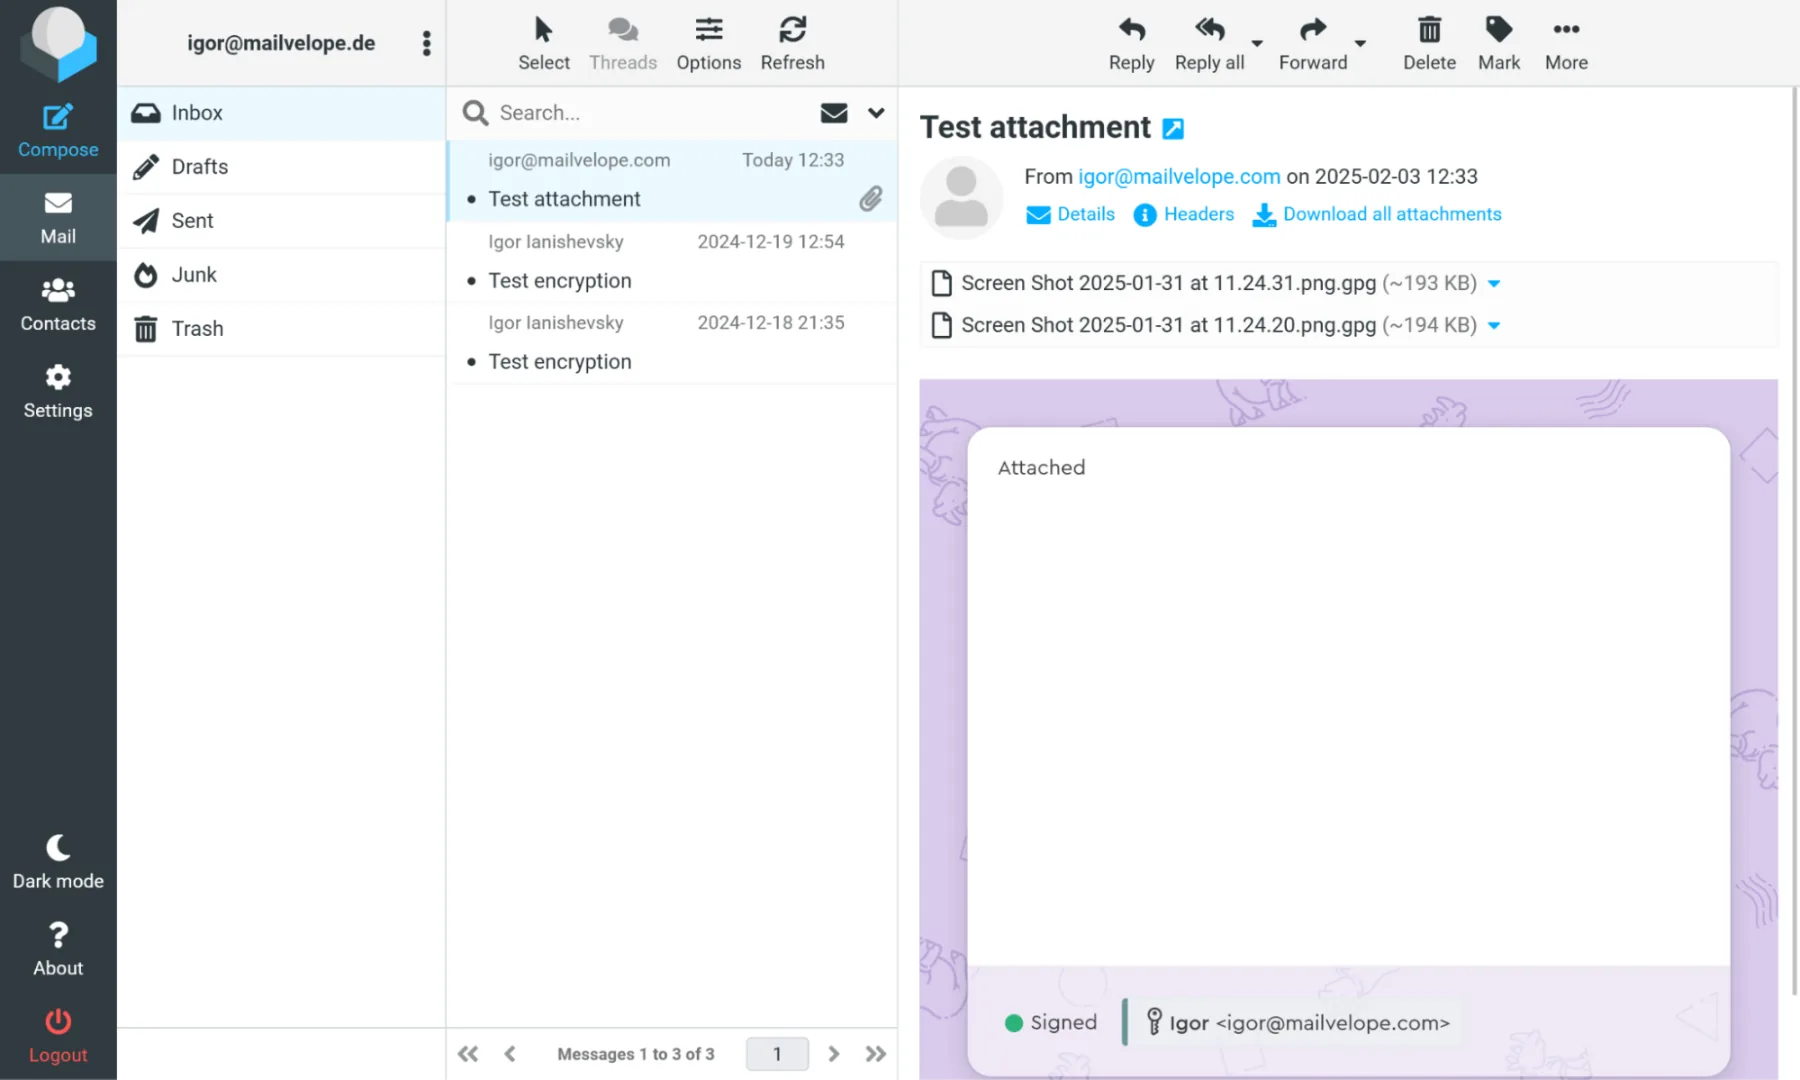
If the email you received includes an encrypted attachment (usually with a .gpg file extension, as shown in the screenshot above),first download it. Next, click the Mailvelope icon in the upper right corner of your browser to open the main menu. Go to Dashboard and select
Decrypt from the top menu bar. Click "Add File" or simply drag and drop the encrypted file into the Mailvelope window. After entering your private key password,
you can download the decrypted attachment files.